Blender is an all-encompassing 3D animation tool for both amateurs and professionals where both groups can produce beautiful animations to the amazement of all. If you are a beginner in the use of Blender or you have some experience and want to develop further, you will find this guide helpful as it is a step by step approach to the enhancement of Blender 3D animation services.
Getting Started with Blender
Before venturing into the world of investing in Blender 3d animation services, you’ll need to ensure that you have the Blender software up and running with you.
Familiarizing Yourself with the Interface
Now that you have your blender installed, you can go ahead and launch it. You’ll see several panels, including:
- 3D Viewport: This is the main window where all the work takes place. This is the place you will be modeling your objects, animating them and finally rendering them.
- Timeline: This is rather important in the animation aspect as this is where you will manage playback, the keyframes and so forth.
- Outliner: Provides a hierarchy of the three-dimensional scene, listing every object in space. Spend some time familiarizing yourself with the interface, especially how to navigate the 3D Viewport using the mouse and keyboard shortcuts.
Creating your first scene
Thanks to the versatility of Blender, you can virtually create every single thing from simple shape to elaborate scene. Here comes the beginning:
- Adding Basic Shapes: For many people starting in Blender, simple shapes in the beginning such as cubes or our peel a sphere or cylinder would be included. To add a shape, you need to press Shift + A, and pick from the Mesh menu that appears.
- Positioning Objects: Move, scale and rotate the shapes with the tools in the 3D Viewport. Try out various arrangements of the objects in-fitted in their places until you achieve the desired composition.
Don’t forget that a skilled designer can help you better organize all the graphic elements in the scene by providing you with a layout, color variations, and other graphic design services.
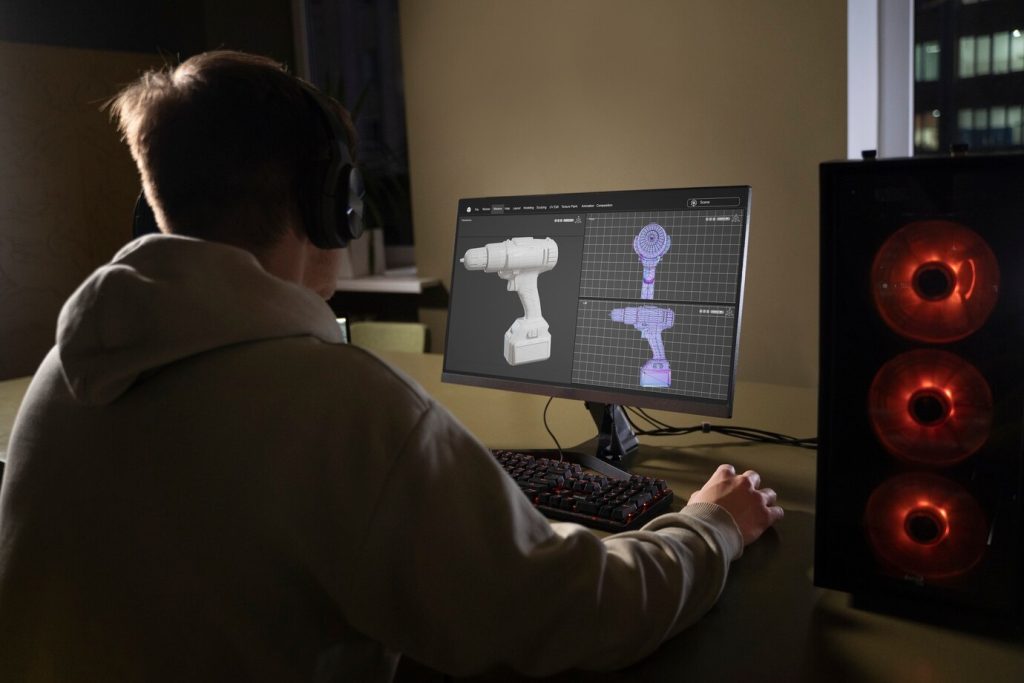
Creating and modeling your objects
Modeling in Blender is the process of creating or changing a three-dimensional object. To help you stay oriented, here is a very basic thing for modeling:
- Get into Edit Mode: Click on an object and press Tab to Enter Edit mode where you can Modify an object shape by moving around the Vertices, edges and faces of the shape.
- Extruding & Loop Cuts: Press E for the faces that you want to nord-exclude onwards and Ctrl + R to add make cut loops and correlative extra edges detail.
- Modifiers: One of the handy features of Blender is the ability to use various modifiers so that you can flexibly deform and engineer the shapes. For example, use Subdivision Surface Modifier to refine shapes further smooth them out.
The development of a model is an important element of the work of the company that provide Blender 3D animation services. Intertwine this so that you provide clients or projects with animation services enhanced with graphics design skills.
Texturing and Materials
Texturing and adding materials is also an important aspect that helps to make the object look either realistic or stylized. A lot of the provided objects are quite standard and prominent with all that.
Applying Materials
Click the Materials tab located in the Properties Panel, click New then select Boer and adjust the settings defining your material including its color, roughness and metallic values.
Lighting Your Scene
Lighting is also important especially when it comes to the mood and the visuals of the animation. Many different types of light, such as point lights, area lights, and sun lights, can be added by pressing Shift + A and selecting Light.
Basic Lighting Setup
- Three Point Lighting: This is a common lighting arrangement used throughout Blender 3D animation services and other graphics devices. It employs the use of a key light, fill light and backlight to light up the objects in a well manner.
- HDRI: A better option in enhancing outside lighting is through High-Definition images or HDR Images. These images are maps of the surrounding environment.
Animating Your Scene
Animation in Blender can and is usually advanced with the use of key-frames, in which this is how it is done with your objects:
Adding Keyframes
- Select the Object: Select the object which requires animating.
- Insert Keyframes: Press I to insert a gryphons as regards location, rotation or scale at specific frames along the timeline.
- Move the Object: Move the object to an overall different position in the 3D Viewport, go forward in the timeline and press I again to insert a keyframe.
With these steps, you will start getting illusionary movement of your object you have done. Blender 3D animation services will utilize keyframes in a given ratio to assure smooth animation transitions.
Rigging for Character Animation
Character animation is a major service offered in Blender 3D animation services and rigging brings a major necessity in animating any character.
The Rigging Process
- Add an Armature: Proceed to Shift + A and click on Armature. This bone system will be utilized in proper control of the person’s movement.
- Parenting the Mesh to the Armature: Select Character mesh including armature. Press.
- Choose the desired Animation rig and start moving the bones to animate the character you’re working on.
Rendering Your Animation
After making your animation, it’s time for the last process of making it, which is rendering.
Setting Up Render Settings
- Locate the Render Properties tab and change the settings like resolution, frame rate, and others, according to your requirement.
- You need to select the render engine of your choice. In Blender, you can either use Cycles to create realistic images or Eevee which enables rendering in real-time but does not offer photo-realistic rendering.
- Once you are done with the settings configuration, hit the F12 key to render one frame or Ctrl + F12 to render the whole animation sequence.
- The 3D animation services offered by Blender can benefit from rendering, and visual appeal depends greatly value in providing graphic design services.
Post-Production in Blender
Blender can be a post production application as it provides some of the tools such as video sequencer and compositor which comes in handy during this phase.
Final Thoughts
One will never be disappointed to learn at least the simplest features at first for the first time. In case they are not available and you aren’t so innovative, animators will manage easily without them. The market is oversaturated and searching for them is similar to search for a needle in a haystack, every professional standard fan artist has one. Get back to practicing inside Blender, building your skill constantly that one day you will deliver better than amazing animations for clients or self-project.